datacite/blog repository overview
DataCite Blog

How to create a Blog post
Create a blog entry is really simple. There are 3 simple steps:
- First click here to go to the
/postsand click the Create new file button. - Then type your blog post as it were a simple text file and give it a name.
- When you finish just click the Commit new file button.
The Blog will take care of formatting, sourcing images, spacing, etc by itself. Wait a few minutes and see it live.
Here it is a quick video to show you how it works:
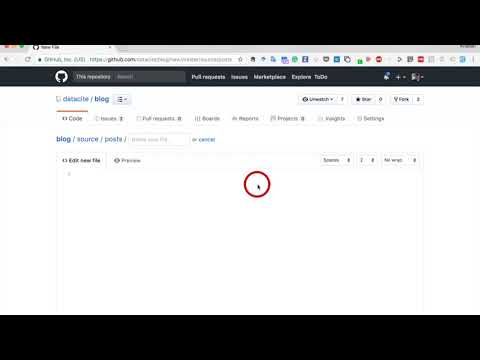
Important Note: When choosing a date/time for the post, the generator by default will not pick up dates set in the future.
Metadata template
To make the blogpost to show correctly you can copy the template below and added to the top part of your blogpost. Just change the title, author, date and tags.
---
layout: post
title: Your Fancy title
author: Your github name
date: The date
tags:
- topic
- topic
---
How to do your own formatting
You might want to define your own format for your blogpost and you can do that very easily.
To make a phrase italic in the Blog, you can surround words with an underscore ( _ ). For example, this word would become italic. Similarly, to make phrases bold in the Blog, you can surround words with two asterisks ( ** ). This will really get your point across. Of course, you can use both italics and bold in the same line. You can also span them across multiple words.
To make headers in Markdown, you preface the phrase with a hash mark (#). You place the same number of hash marks as the size of the header you want. For example, for a header one, you'd use one hash mark (# Header One), while for a header three, you'd use three (### Header Three). For example
Header One
Header Three
We'll now learn how to make links to other web sites on the world wide web.
To create an inline link, you wrap the link text in brackets ( [ ] ), and then you wrap the link in parenthesis ( ( ) ). For example, to create a hyperlink to www.datacite.org, with a link text that says, Visit DataCite!, you'd write this in the blogpost: [Visit DataCite!](www.datacite.org).
More info in this blog post.
Tag summary
Content type
Image
Digest
Size
842.6 MB
Last updated
almost 8 years ago
docker pull datacite/blog