ibmcom/db2console repository overview
THIS LOCATION WILL BE SUNSET IN THE NEAR FUTURE - NOW IMAGES ARE AVAILABLE TO PULL THROUGH icr.io/cpopen/db2console
==> IBM doc for Db2 Data Management Console container <==
Data Management Console
IBM Db2® Data Management Console is a browser-based console that helps you administer, monitor, manage and optimize the performance of IBM Db2 for Linux, UNIX and Windows databases.
For IBM’s cloud-based systems and appliances, the consoles come set up out of the box. Db2 Data Management Console is packaged with all IBM Db2 editions at no extra charge.
Requirements
- Resources:
- Memory >= 4GB
- Core >= 2 core
- Storage:
- Persistent storage
- Architectures:
- amd64
Supported tags
-
latest, 3.1.11
-
3.1.3, 3.1.2, 3.1.4, 3.1.4patch2, 3.1.5, 3.1.5.1, 3.1.6, 3.1.6.1, 3.1.7, 3.1.8, 3.1.9, 3.1.10
Quick Reference
-
What's new:
-
Where to get help:
-
Product home page:
-
Product document:
-
IBM Db2:
-
License agreement:
Important notice if your workspace used for Data Management Console 3.1.6.1 and below
From Data Management Console 3.1.7 release, container uses non root user to start process.
If workspace used for 3.1.6.1 release and below, please change folder privilege according Upgrade IBM Db2 Data Management Console to the latest release step2.
Then you can upgrade to latest version
Quick Start
Run the following command:
docker run -d --name mydmc -p 11081:8443 -e LICENSE=accept -v <dmc storage dir>:/mnt -v /etc/localtime:/etc/localtime:ro ibmcom/db2console
where <dmc storage dir> is the persistent storage directory location (absolute path) that stores the console configuration and logs. Make sure this directory exists even before you start the container. Create this directory as follows:
- Create folder by
mkdir -p /mydmc - Storage mount like
-v /mydmc:/mnt
The docker run command might take a minute to execute and complete the setup of container.
To tail the docker entry point script, run the following command:
docker logs -f mydmc
Once the container is ready, the following success message displays in the logs:
Successfully started IBM Db2 Data Management Console.
******************************************************************************
Summary
  * Web console HTTPS URL:
    https://<host machine>:<expose port on the host>
  * Web console login information:
    Username: admin
    Password: xxxxxx
where <expose port on the host> is 11081, Username is the default administrator username (admin), and Password is a randomly generated password of 8 characters.
To log into the container, run the following command:
docker exec -it mydmc bash
Product Images
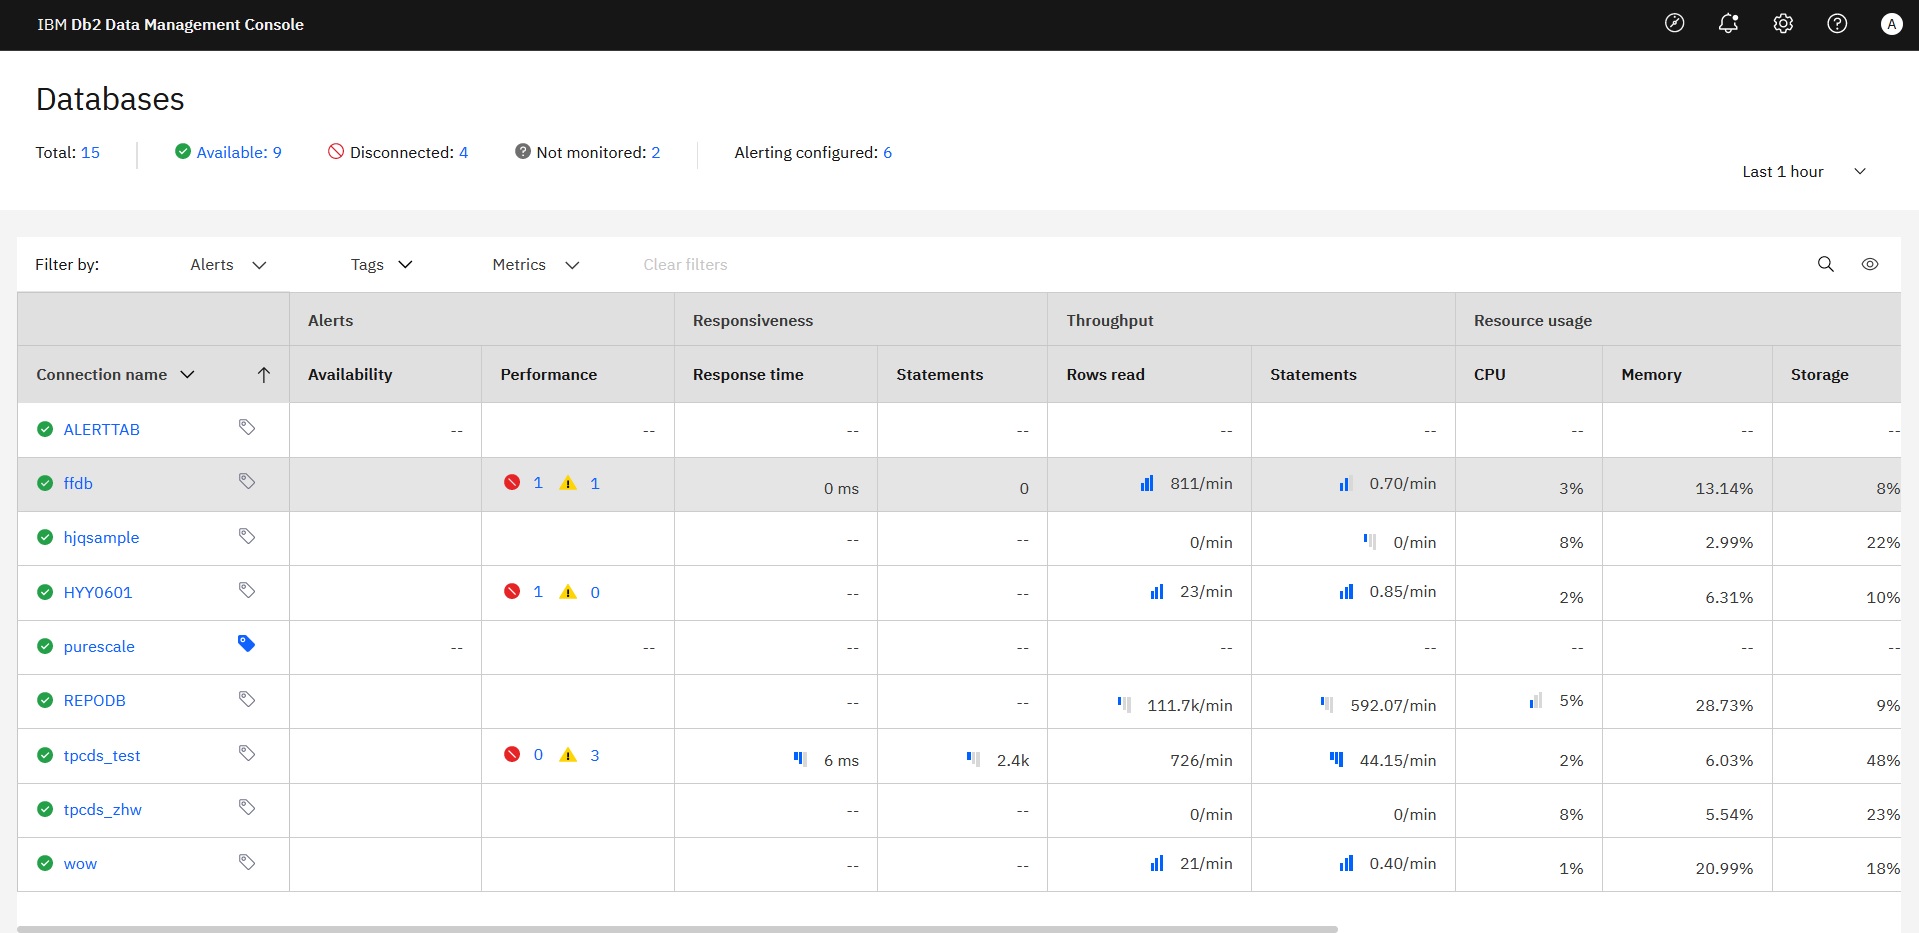
Home Page
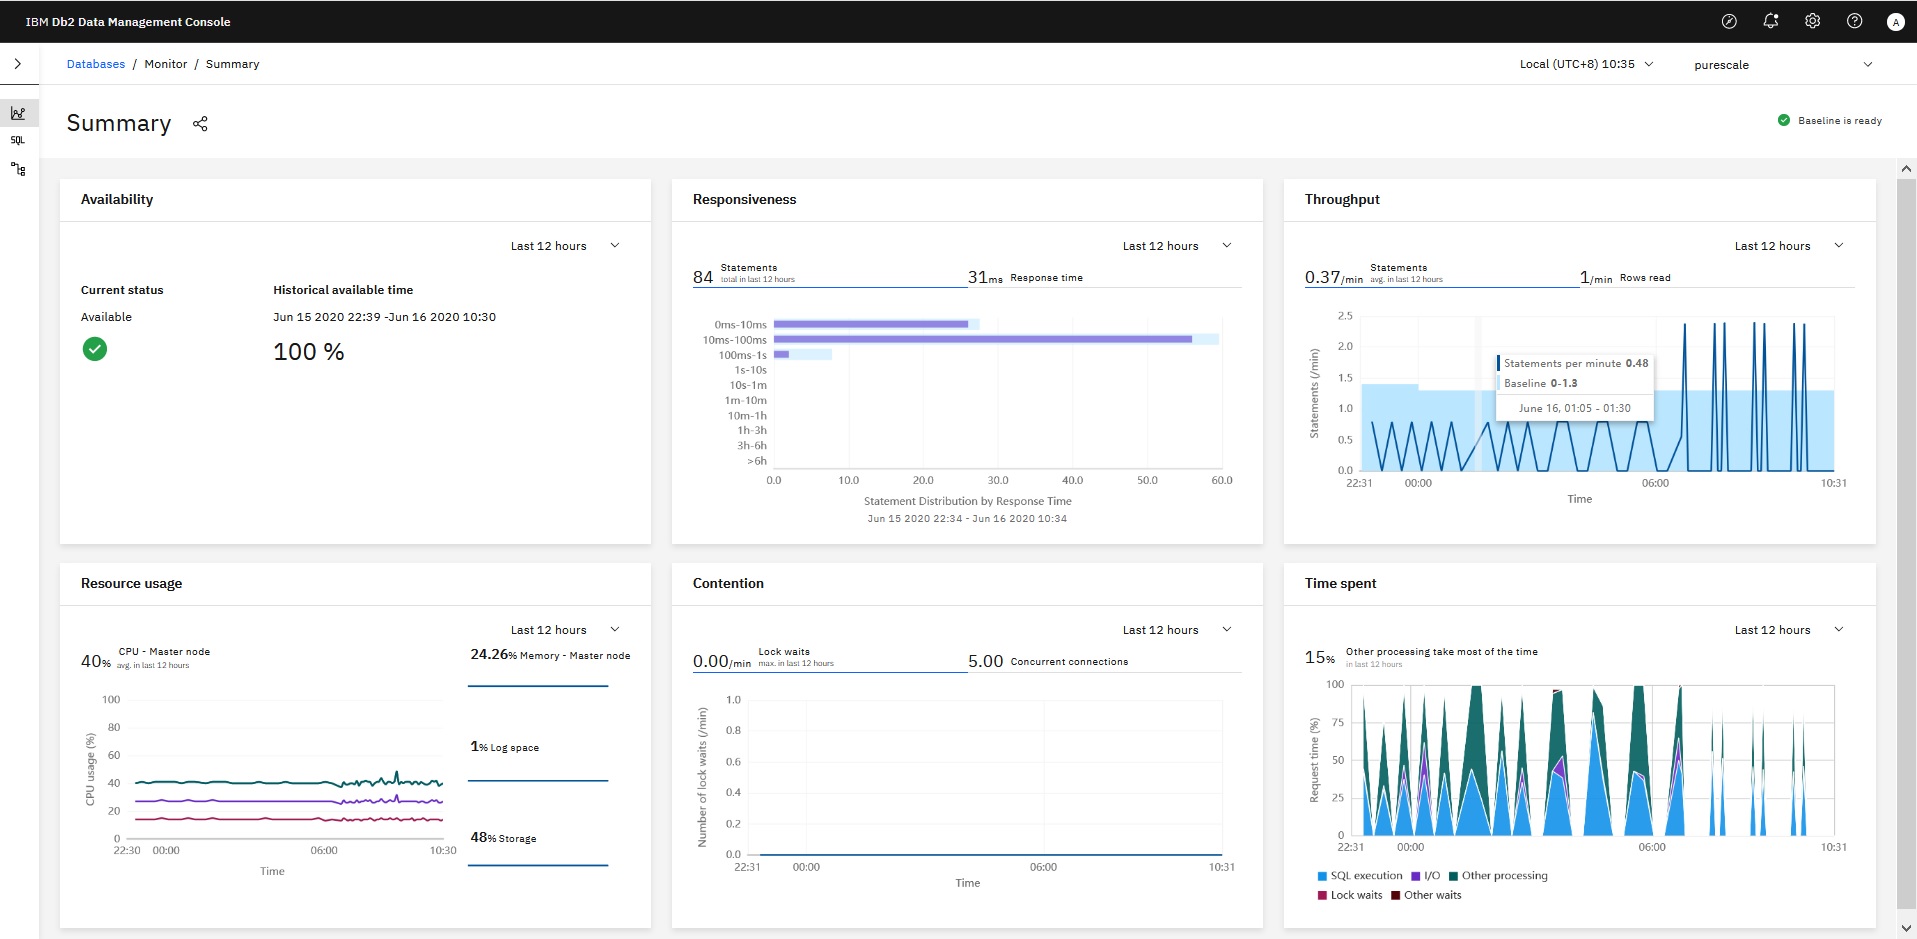
Monitor Summary Page
Advanced Configuration Options
You can set the following environment variables in your docker run command via the -e switch or you can add them to a file and then refer to the file in your docker run command with the --env-file switch.
ADMIN_NAME specifies the username of the administrator. Default is admin.
ADMIN_PASSWORD specifies the password of the administrator. Default is auto generated password (8 characters)
CONSOLE_HOSTNAME specifies the console access host name. Default is null.
Set this value to enable host name check, for example
-e console_hostname=$(hostname)
When this value is set, the console access is limited to:
https://<CONSOLE_HOSTNAME>:<expose port on the host>
Upgrade IBM Db2 Data Management Console to the latest release
Before you upgrade, ensure to back up your repository database.
-
Stop IBM Db2 Data Management Console of the previous release.
docker stop mydmc;docker rm mydmcif there is any errors during the process, please try to remove the mydmc container by force.
docker rm -f mydmc -
If previous release version less than 3.1.7, please run command below to change folder privilege
chmod -R g=u <dmc storage dir> -
Start IBM Db2 Data Management Console of the latest release.
docker run -d --name mydmc -p 11081:8443 -e LICENSE=accept -v /mydmc:/mnt \ -v /etc/localtime:/etc/localtime:ro ibmcom/db2consolewhere
/mydmcis the persistent storage directory location (absolute path) that stores the console configuration and logs. Make sure this directory is the same as the one used for IBM Db2 Data Management Console of the previous release.If you forgot to run this command before you upgrading the DMC docker, the started docker container would encounter local network errors. It will try for about 3 minutes, then stop the container. After you have run the chmod command in step 2, please delete the former stopped docker container and create a new one.
Install custom SSL certificates
Requirements:
-
You must have your own SSL certificates which includes the following files in PEM format.
- cert.pem: ssl certificate, not including passphrase
- key.pem: ssl certificate key
The format of both the certificate and key must match. If the certificate is in any other format, convert it to PEM format.
Note: Make sure the file name for the ssl certificate is cert.pem, and file name for ssl certificate key is key.pem, and it is case sensitive.
-
Create the certification folder as follows:
- To create a folder, run
mkdir -p /mycerts - Move or copy the SSL certificate files to the folder
/mycerts - To storage mount, run
-v /mycerts:/opt/ibm-datasrvrmgr/certs
- To create a folder, run
Run the following command:
docker run -d --name mydmc -p 11081:8443 -e LICENSE=accept  \
-v <dmc storage dir>:/mnt -v <certs dir>:/opt/ibm-datasrvrmgr/certs \
-v /etc/localtime:/etc/localtime:ro ibmcom/db2console
When the SSL certificates are deployed on the container, the following message displays in the logs:
 script.log 2020-04-14 04:32:26 : Prod machine, using CA certs...
s!SSLDIRHERE!/opt/ibm-datasrvrmgr/certs/cert.pem!g
s!KEYDIRHERE!/opt/ibm-datasrvrmgr/certs/key.pem!g
Retrieve setup administrator account credentials
As of version 3.1.3 and latest, to retrieve the setup administrator credentials, run the following command:
docker exec mydmc bash -c "/opt/ibm-datasrvrmgr/dsutil/bin/retrieveAdminCred.sh"
For version 3.1.2, to retrieve the setup administrator username and password, run the following commands:
Username:
docker exec mydmc bash -c "grep uc_setup_admin= /opt/ibm-datasrvrmgr/Config/dswebserver_override.properties|sed 's/uc_setup_admin=//'"
Password:
encrypt_password=$(docker exec -it mydmc bash -c "grep uc_setup_admin_password /opt/ibm-datasrvrmgr/Config/dswebserver_override.properties|sed 's/uc_setup_admin_password=//'") && docker exec -it mydmc bash -c "/opt/ibm-datasrvrmgr/dsutil/bin/crypt.sh -d $encrypt_password"
Troubleshooting/Support
- If a container is no longer running, review the log information to identify possible errors and failures. To display the logs of the container, run the following command:
docker logs mydmc
After fixing the issues, restart the container using the following command:
docker start mydmc
- If you need help to resolve a problem, consider opening an IBM Support case to diagnose the issue. Make sure to collect the diagnostic data before contacting IBM support to expedite the troubleshooting process and reduce the time that it takes to resolve your issues. To collect diagnostic data, run the following commands:
    1. docker exec -u root -it mydmc /opt/ibm-datasrvrmgr/support/collector.sh
    2. docker cp mydmc:/opt/ibm-datasrvrmgr/support/dmccollect.zip <host dir>/
License (Terms and Conditions)
By pulling this container image, you are agreeing to the terms and conditions as described here
Tag summary
Content type
Image
Digest
sha256:8ca6a6ad6…
Size
745.1 MB
Last updated
over 3 years ago
docker pull ibmcom/db2console