milvasoft/milvaion-api
Distributed job scheduling system with real-time dashboard, REST API, and worker management.
5.3K
milvasoft/milvaion-api repository overview
Introduction
Milvaion is a distributed job scheduling system built on .NET 10. It separates the scheduler (API that decides when jobs run) from the workers (processes that execute jobs), connected via Redis and RabbitMQ.
What Problem Does Milvaion Solve?
Most job schedulers run jobs inside the same process as the scheduling logic. This works fine until:
- A long-running job blocks other jobs from executing
- A crashing job takes down the entire scheduler
- You need different hardware for different job types (e.g., GPU for ML jobs)
- You want to scale job execution independently from the API
Milvaion solves these problems by completely separating scheduling from execution:
┌─────────────────┐        ┌─────────────────┐       ┌─────────────────┐
│  Milvaion API   │        │    RabbitMQ     │       │    Workers      │
│  (Scheduler)    │──────▶│  (Job Queue)    │──────▶│  (Executors)    │
│                 │        │                 │       │                 │
│ • REST API      │        │ • Job messages  │       │ • IJob classes  │
│ • Dashboard     │        │ • Status queues │       │ • Retry logic   │
│ • Cron parsing  │        │ • Log streams   │       │ • DI support    │
└─────────────────┘        └─────────────────┘       └─────────────────┘
Quick Start
Get Milvaion running locally and execute your first job in under 10 minutes.
Prerequisites
You need:
- Docker Desktop (v20.10+) with Docker Compose
- Web browser for the dashboard and built-in Open Api Rest Client
- (Optional )curl or a REST client (Postman, Insomnia)
Verify Docker is installed:
docker --version
# Docker version 24.0.0 or higher

docker compose version
# Docker Compose version v2.20.0 or higher
Step 1: Start the Stack
Create a file named docker-compose.yml:
services:
  # PostgreSQL Database
  postgres:
    image: postgres:16-alpine
    container_name: milvaion-postgres
    environment:
      POSTGRES_DB: MilvaionDb
      POSTGRES_USER: postgres
      POSTGRES_PASSWORD: N4SQp.qW>6?xwWzg
    ports:
      - "5432:5432"
    volumes:
      - postgres_data:/var/lib/postgresql/data
    networks:
      - milvaion-network
    restart: unless-stopped
    mem_limit: 8096m
    mem_reservation: 2048m
    healthcheck:
      test: ["CMD-SHELL", "pg_isready -U postgres -d MilvaionDb"]
      interval: 5s
      timeout: 5s
      retries: 10
      start_period: 30s

  # Redis Cache & Scheduler
  redis:
    image: redis:7-alpine
    container_name: milvaion-redis
    ports:
      - "6379:6379"
    volumes:
      - redis_data:/data
    networks:
      - milvaion-network
    restart: unless-stopped
    healthcheck:
      test: ["CMD", "redis-cli", "ping"]
      interval: 10s
      timeout: 3s
      retries: 5

  # RabbitMQ Message Broker
  rabbitmq:
    image: rabbitmq:3-management-alpine
    container_name: milvaion-rabbitmq
    environment:
      RABBITMQ_DEFAULT_USER: guest
      RABBITMQ_DEFAULT_PASS: guest
    ports:
      - "5672:5672"   # AMQP port
      - "15672:15672" # Management UI
    volumes:
      - rabbitmq_data:/var/lib/rabbitmq
    networks:
      - milvaion-network
    restart: unless-stopped
    healthcheck:
      test: ["CMD", "rabbitmq-diagnostics", "ping"]
      interval: 10s
      timeout: 5s
      retries: 5

  # Seq log server
  seq:
    image: datalust/seq:latest
    container_name: milvaion-seq
    environment:
      - SEQ_FIRSTRUN_ADMINPASSWORD=ChangeMe123!
      - ACCEPT_EULA=Y
    ports:
      - "5341:80" # Seq default UI port mapped to host 5341
    volumes:
      - seq_data:/data
    networks:
      - milvaion-network
    restart: unless-stopped
    labels:
      - "com.milvaion.service=seq"
      - "com.milvaion.description=Seq logging server"

  # Milvaion API (Producer/Scheduler)
  milvaion-api:
    image: milvasoft/milvaion-api:latest
    container_name: milvaion-api
    environment:
      - ASPNETCORE_ENVIRONMENT=Development
      - ASPNETCORE_URLS=http://+:5000
      - Cors__Policies__AllowAll__AllowCredentials=false
      - MILVAION_ROOT_PASSWORD=admin
      - MILVA_ENV=dev
    ports:
      - "5000:5000"  # API + React SPA (http://localhost:5000)
    depends_on:
      postgres:
        condition: service_healthy
      redis:
        condition: service_healthy
      rabbitmq:
        condition: service_healthy
    networks:
      - milvaion-network
    restart: unless-stopped
    mem_limit: 2048m
    labels:
      - "com.milvaion.service=api"
      - "com.milvaion.description=Milvaion API with embedded React UI"

  # SampleWorker (Job Executor) - Scalable
  milvaion-sample-worker:
    image: milvasoft/milvaion-sample-worker:latest
    environment:
      - Worker__WorkerId=sample-worker
    depends_on:
      rabbitmq:
        condition: service_healthy
      redis:
        condition: service_healthy
      milvaion-api:
        condition: service_started
    networks:
      - milvaion-network
    restart: unless-stopped
    mem_limit: 1024m
    # Enable scaling: docker-compose up --scale sample-worker=4 -d
    deploy:
      replicas: 1

volumes:
  postgres_data:
    driver: local
  redis_data:
    driver: local
  rabbitmq_data:
    driver: local
  seq_data:
    driver: local

networks:
  milvaion-network:
    driver: bridge
Start all services:
docker compose up -d
Wait 30-60 seconds for all services to initialize, then verify:
docker compose ps
You should see all containers running:
NAME                  STATUS          PORTS
milvaion-api          Up              0.0.0.0:5000->8080/tcp
milvaion-postgres     Up (healthy)    0.0.0.0:5432->5432/tcp
milvaion-rabbitmq     Up (healthy)    5672/tcp, 0.0.0.0:15672->15672/tcp
milvaion-redis        Up (healthy)    0.0.0.0:6379->6379/tcp
milvaion-sample-worker  Up
Step 2: Access the Dashboard and Rest Client
Dashboard
Open your browser: http://localhost:5000
You'll see the Milvaion UI. For more information, see the detailed UI documentation.
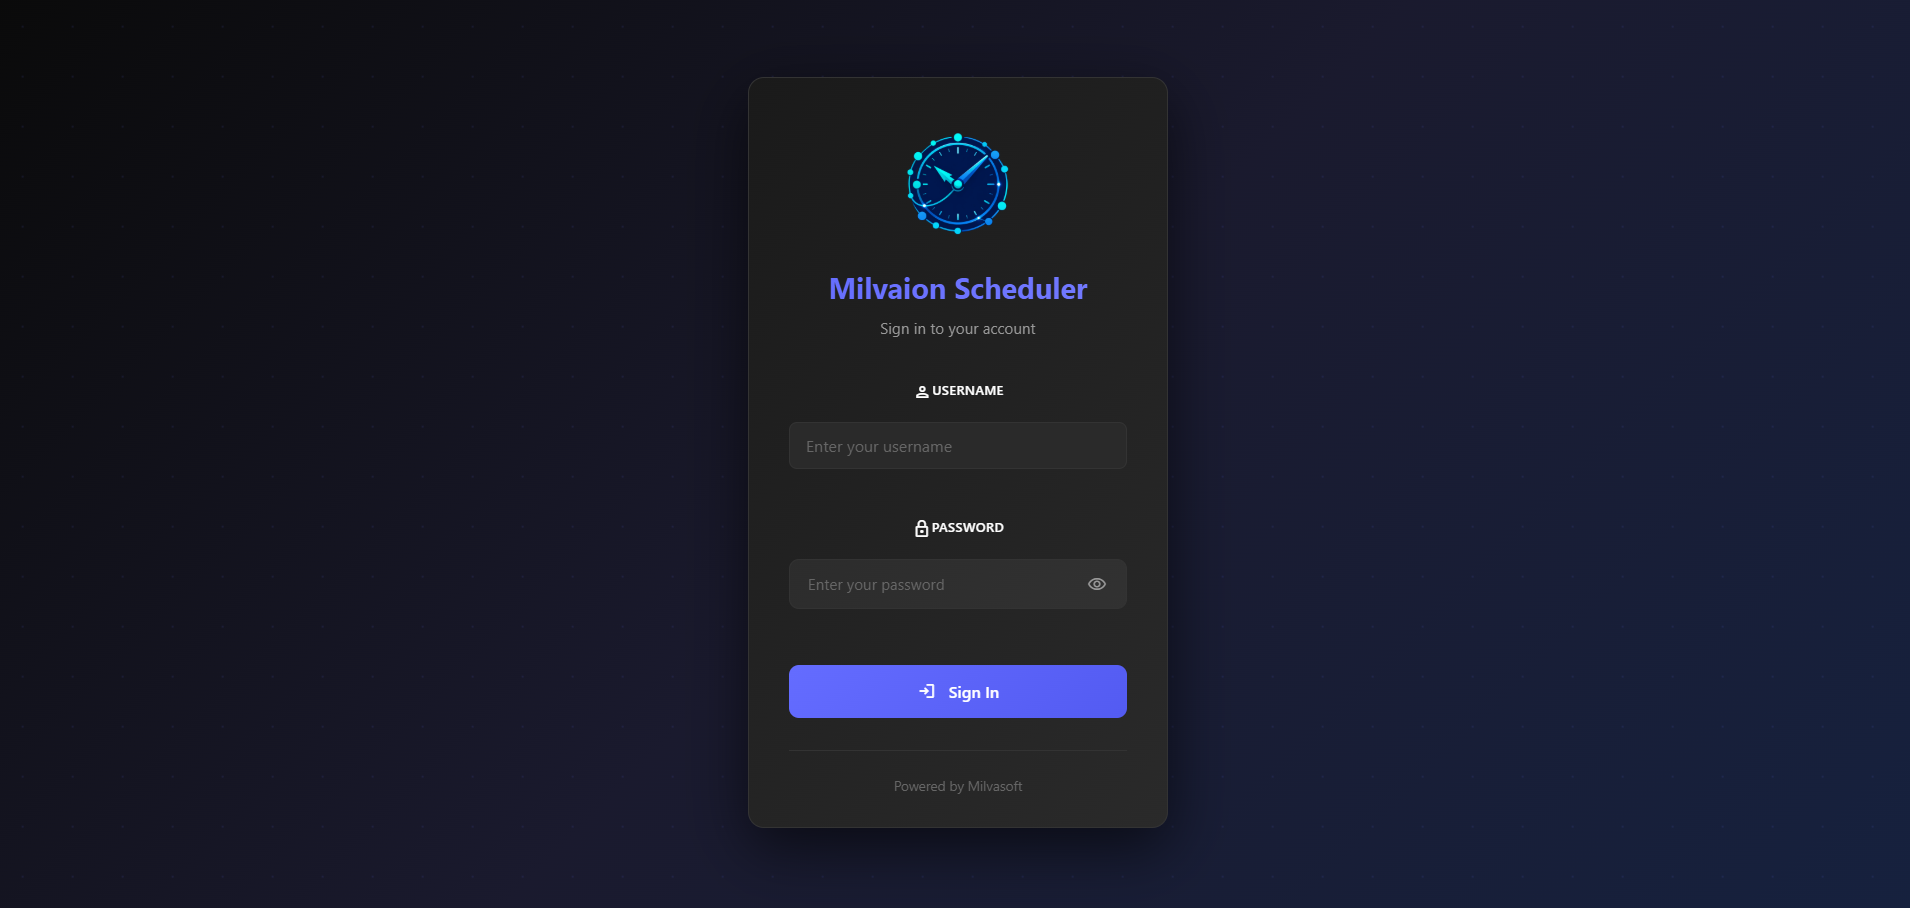
Default username is rootuser. System-wide access is permitted. If you didn't set MILVAION_ROOT_PASSWORD in docker-compose, to get the initial user password:
docker logs milvaion-api 2>&1 | grep -i "Initial root user password"
You can change the password via
/api/v1/account/password/changeendpoint.
Rest Client
Open your browser: http://localhost:5000/api/documentation/index.html
You'll see the Milvaion rest client. A permanent token will be set up for you.
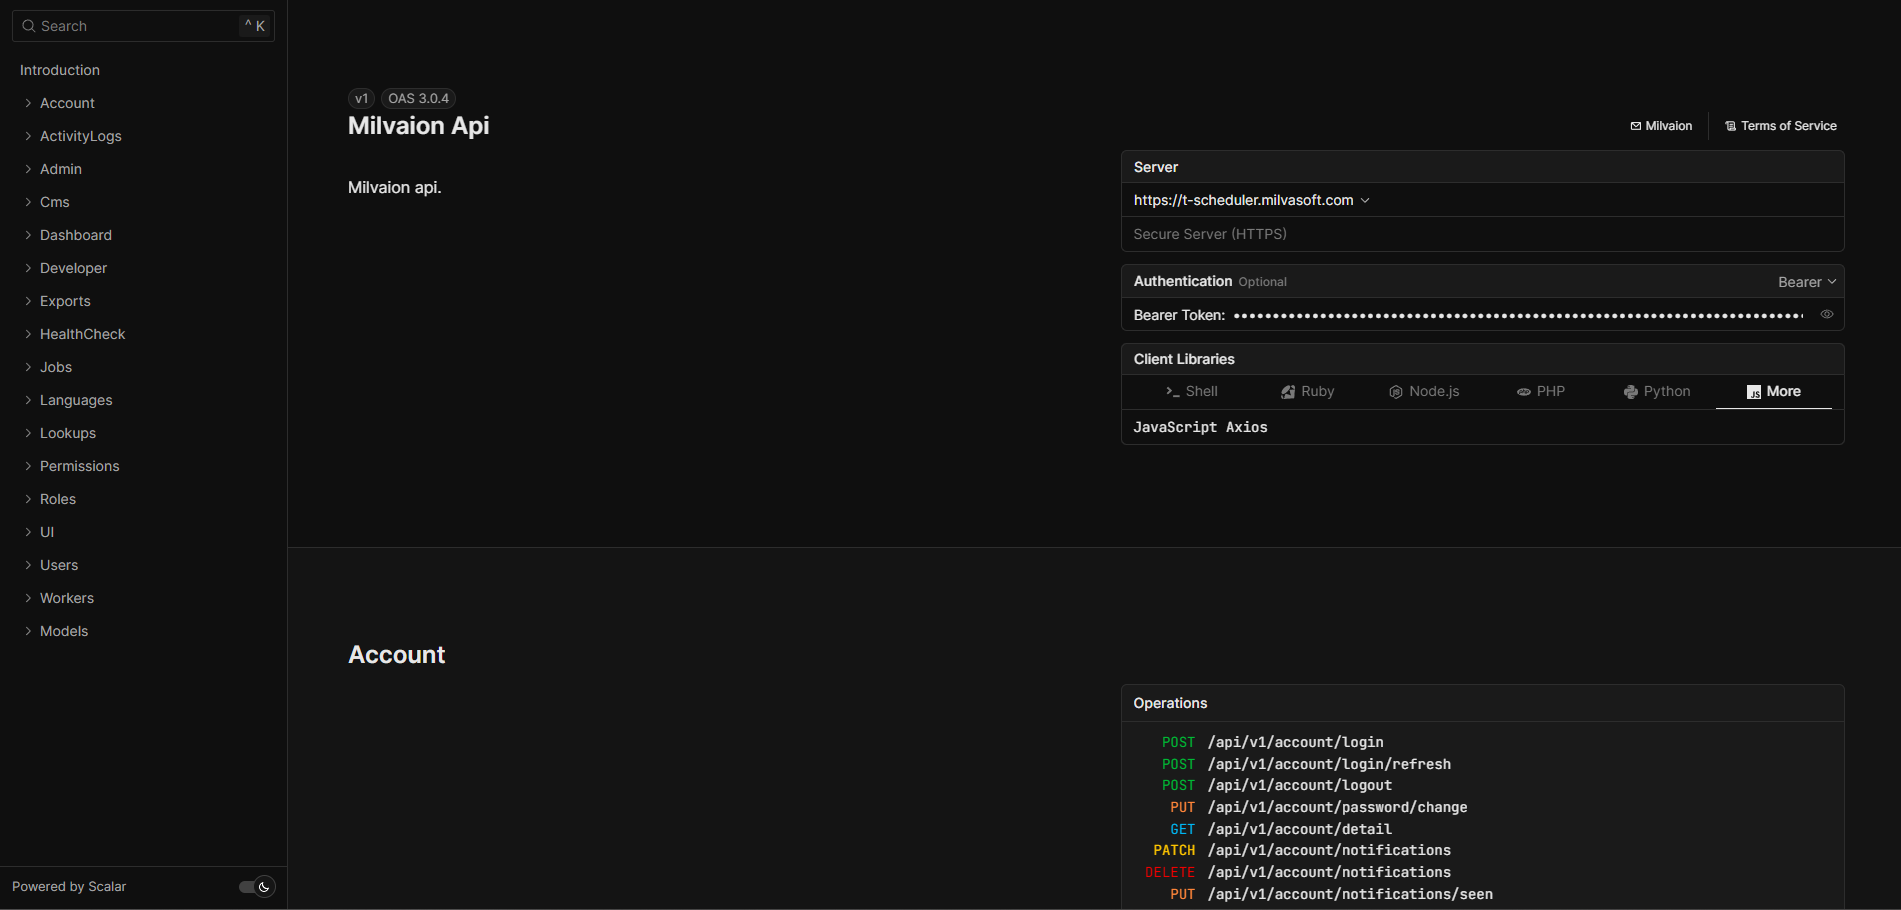
Without proxy, the api will serve only http. For http/https switch on rest client;

Step 3: Create Your First Job
Use the Dashboard UI, Rest Client or make an API call:
curl -X POST http://localhost:5000/api/v1/jobs/job \
  -H "Content-Type: application/json" \
  -H "Accept-Language: en-US" \
  -d '{
    "displayName": "My First Job",
    "description": "This is a test job!",
    "tags": "test,first-job",
    "workerId": "sample-worker-01",
    "selectedJobName": "SampleJob",
    "cronExpression": "* * * * *",
    "executeAt": null,
    "isActive": true,
    "concurrentExecutionPolicy": 0,
    "zombieTimeoutMinutes": null,
    "executionTimeoutSeconds": null,
    "jobData": "{\"message\": \"Hello from Milvaion!\"}"
  }'
What this does:
| Field | Value | Meaning |
|---|---|---|
displayName | "My First Job" | Human-readable name shown in dashboard |
description | "This is a test job!" | Human-readable description shown in dashboard |
tags | "test,first-job" | Comma seperated tags for job grouping. |
workerId | "sample-worker-01" | Routes to the test worker. This must be exactly the same as your worker configuration. |
selectedJobName | "SampleJob" | Job class name in worker. Must match a job class in the worker |
cronExpression | * * * * * | Schedule configuration. Run every minute |
executeAt | "2026-01-15T15:39:00.000Z" | One time job schedule time. Send null for the recurring jobs. If both cronExpression and executeAt sent, cronExpression have priority. |
concurrentExecutionPolicy | 0 -> Skip , 1 -> Queue | Scheduling mechanism when concurrent execution happens. |
isActive | true | Job is active or not. Deactivated jobs will not create executions. |
executionTimeoutSeconds | null | Job-specific execution timeout in seconds. If set, worker will cancel the job after this duration and mark it as TimedOut. If null, worker's JobConsumerConfig.ExecutionTimeoutSeconds is used as fallback. Default: null (use worker config, typically 3600 seconds = 1 hour). |
zombieTimeoutMinutes | null | Job-specific zombie timeout in minutes. If set, occurrences stuck in Queued status longer than this will be marked as Failed. If null, global ZombieDetector timeout (10 minutes) is used. Useful for long-running jobs that need higher timeout thresholds.. |
jobData | JSON object | Data passed to the job |
You should receive:
{
    "isSuccess": true,
    "statusCode": 200,
    "messages": [
        {
            "key": "",
            "message": "Operation successful!",
            "type": 1
        }
    ],
    "data": "019bbd29-3321-7a70-9015-489f703db53f",
    "metadatas": []
}
The data field is your new Job ID.
Step 4: Watch It Run
Option A: Dashboard (Recommended)
- Go to http://localhost:5000
- Login with your credentials.
- Click Jobs in the sidebar
- Click your job name
- Wait up to 1 minute for the cron trigger
- See the Execution History populate with occurrences in real-time
- Click an occurrence to see real-time logs
Option B: Worker Logs
docker logs -f milvaion-sample-worker
Expected output when job runs:
info: SampleJob[0]
      🚀 SampleJob started!
info: SampleJob[0]
      Job ID: f47ac10b-58cc-4372-a567-0e02b2c3d479
info: SampleJob[0]
      Received data: {"message":"Hello from Milvaion!"}
info: SampleJob[0]
      ⏳ Processing step 1/5...
info: SampleJob[0]
      ⏳ Processing step 2/5...
...
info: SampleJob[0]
      ✅ SampleJob completed successfully!
Step 5: Trigger Manually (Optional)
Don't want to wait for cron → Trigger immediately via Dashboard or:
curl -X POST "http://localhost:5000/api/v1/jobs/job/trigger" \
  -H "Content-Type: application/json" \
  -d '{
    "jobId": "YOUR_JOB_ID",
    "reason": "Manual test"
    "force": true
  }'
Verify the System
API Health
curl http://localhost:5000/api/v1/healthcheck
RabbitMQ Management
Open http://localhost:15672 (guest/guest) to see queues and message flow.
Cleanup
Stop all services:
docker compose down
Stop and delete all data (fresh start):
docker compose down -v
Troubleshooting
"Job not executing"
- Check worker is running:
docker compose ps - Check worker logs:
docker logs milvaion-sample-worker - Verify job is active in dashboard
- Check RabbitMQ has queues: http://localhost:15672 → Queues
"API won't start"
- Check PostgreSQL is healthy:
docker logs milvaion-postgres - Wait for migrations:
docker logs milvaion-api | grep -i migration - Port conflict → Change
5000:8080to5001:8080
"Worker can't connect"
- Ensure worker is on same Docker network
- Use container names (
rabbitmq,redis) in connection strings, notlocalhost - Check RabbitMQ is healthy:
docker logs milvaion-rabbitmq
Tag summary
Content type
Image
Digest
sha256:7aae1732f…
Size
138.4 MB
Last updated
23 days ago
docker pull milvasoft/milvaion-api