unafraid/subspace repository overview
Subspace - A simple WireGuard VPN server GUI
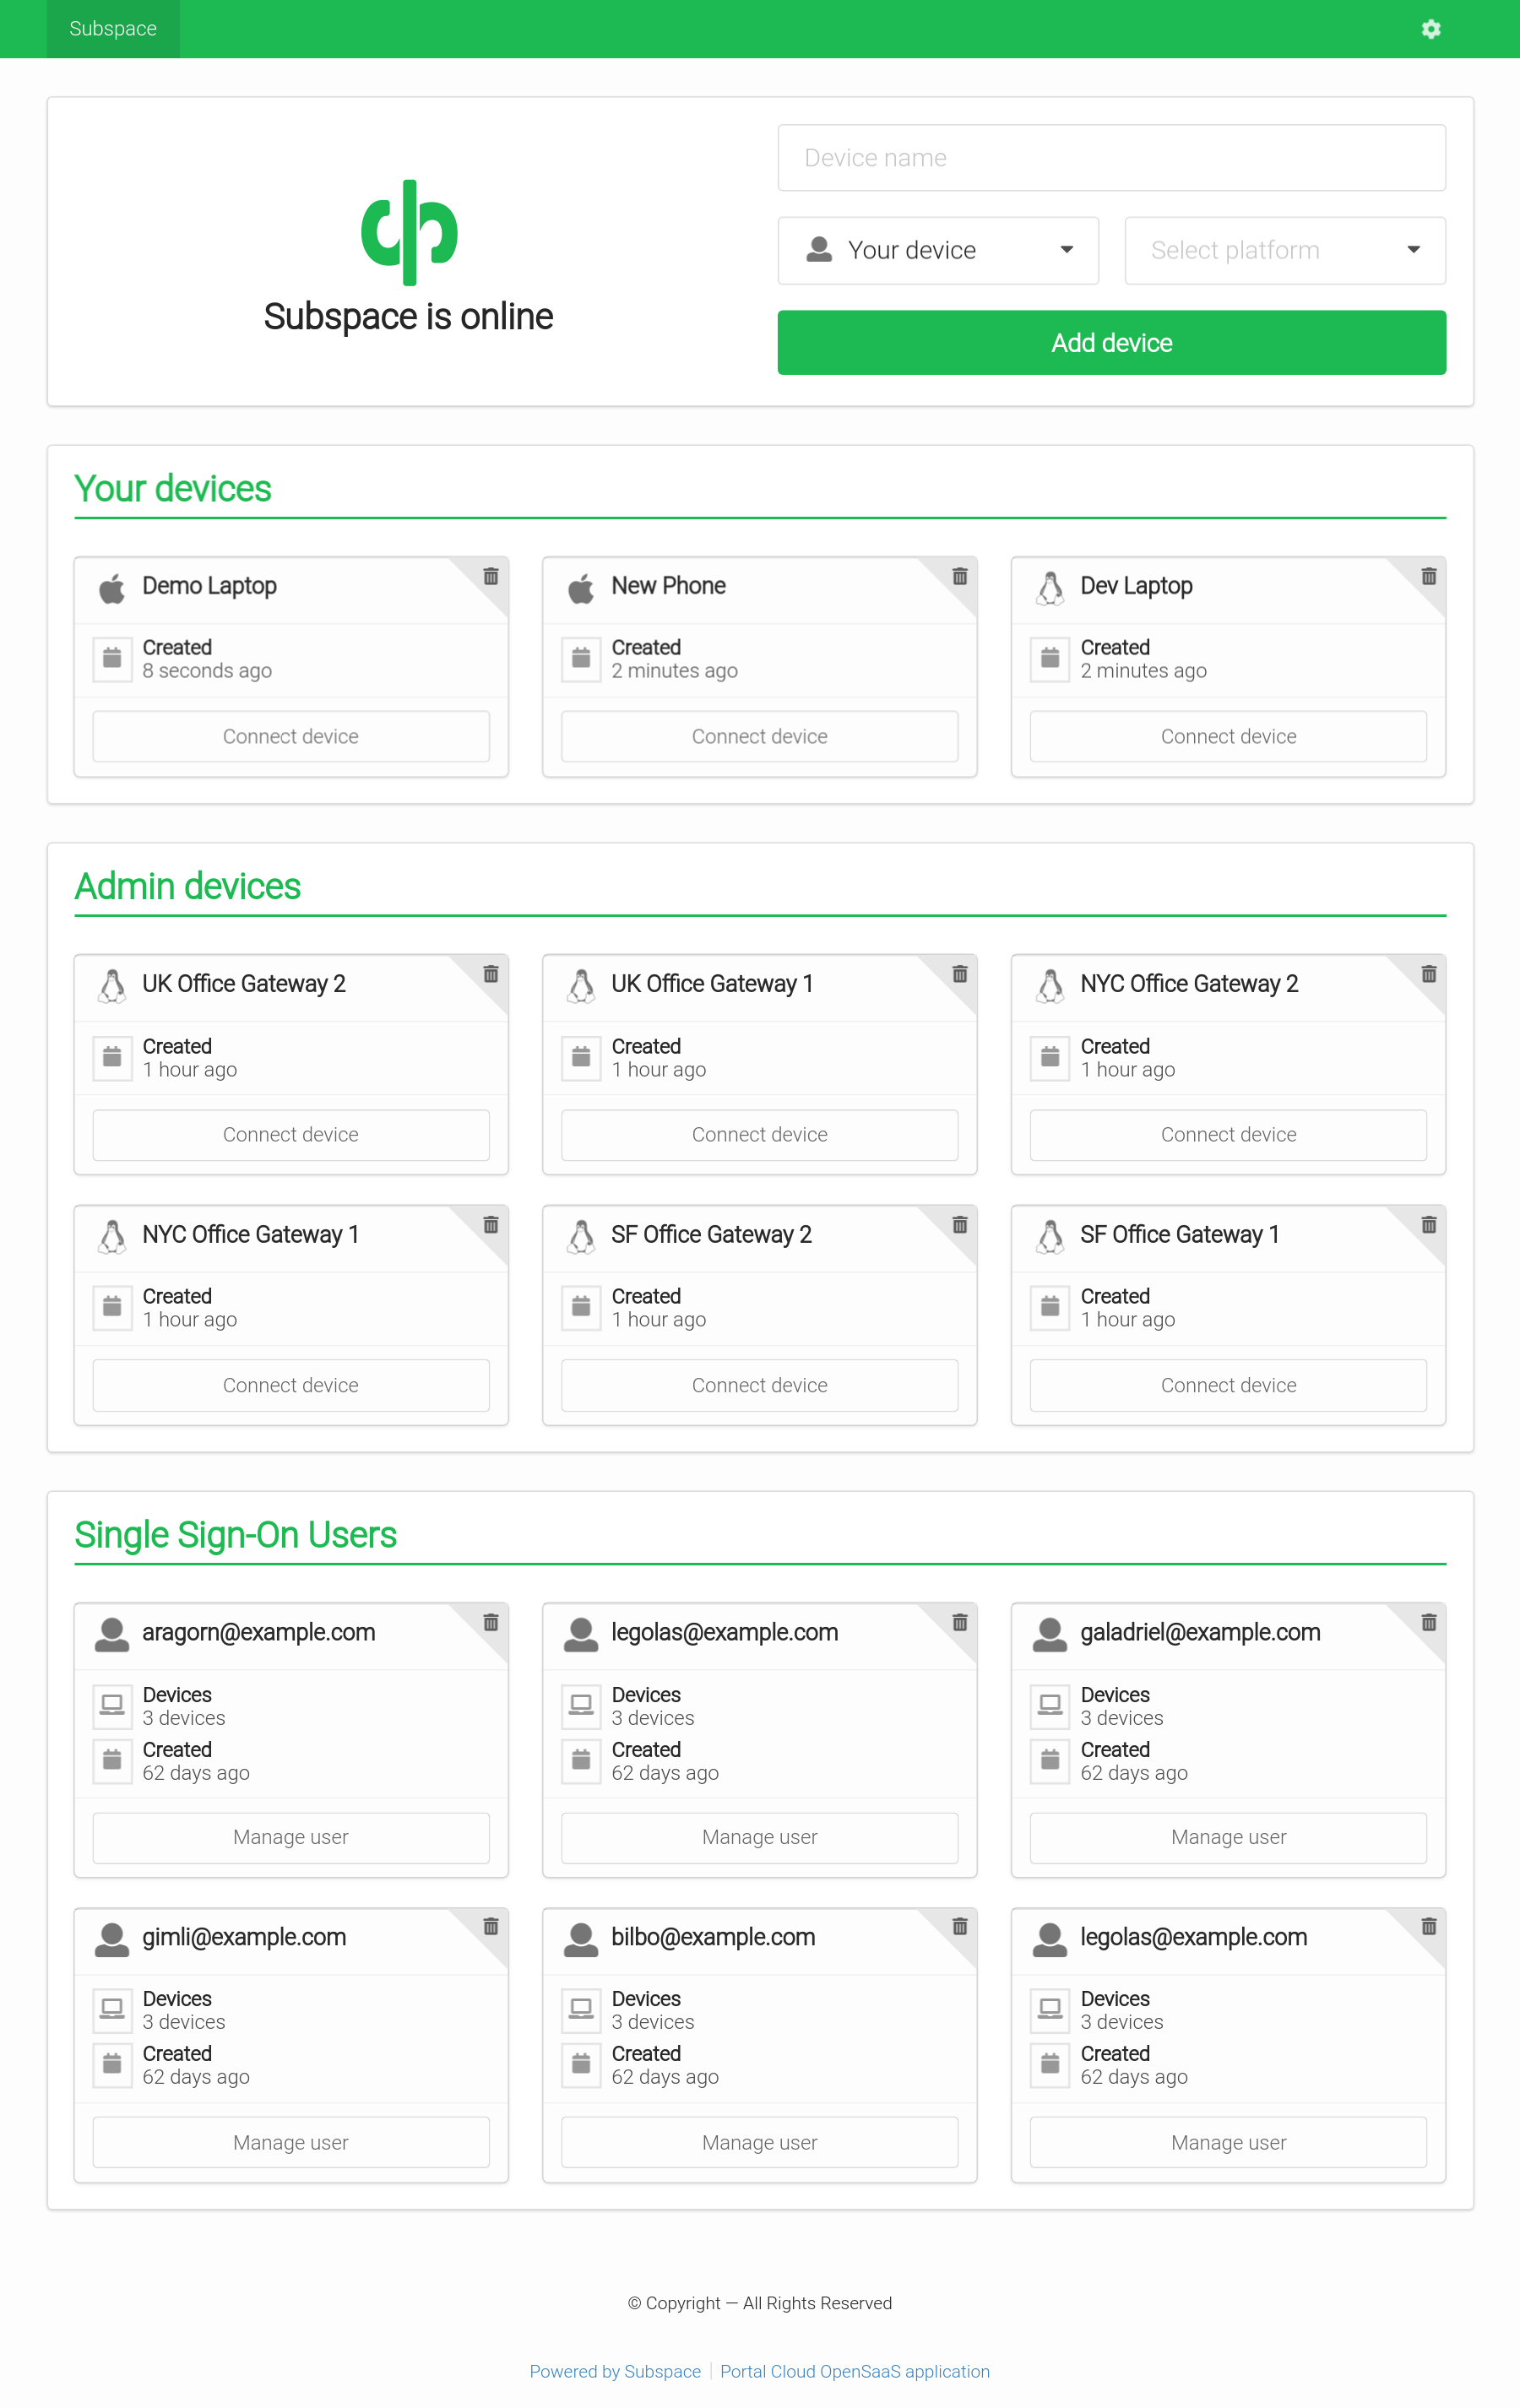
Screenshots
Features
- WireGuard VPN Protocol
- The most modern and fastest VPN protocol.
- Single Sign-On (SSO) with SAML
- Support for SAML providers like G Suite and Okta.
- Add Devices
- Connect from Mac OS X, Windows, Linux, Android, or iOS.
- Remove Devices
- Removes client key and disconnects client.
- Auto-generated Configs
- Each client gets a unique downloadable config file.
- Generates a QR code for easy importing on iOS and Android.
Run Subspace on Portal Cloud
Portal Cloud is a hosting service that enables anyone to run open source cloud applications.
Sign up for Portal Cloud and get $15 free credit with code Portal15.
Run Subspace on a VPS
Running Subspace on a VPS is designed to be as simple as possible.
- Public Docker image.
- Single static Go binary with assets bundled.
- Automatic TLS using Let's Encrypt.
- Redirects http to https.
- Works with a reverse proxy or standalone.
1. Get a server
Recommended Specs
- Type: VPS or dedicated
- Distribution: Ubuntu 16.04 (Xenial)
- Memory: 512MB or greater
2. Add a DNS record
Create a DNS A record in your domain pointing to your server's IP address.
Example: subspace.example.com A 172.16.1.1
3. Enable Let's Encrypt
Subspace runs a TLS ("SSL") https server on port 443/tcp. It also runs a standard web server on port 80/tcp to redirect clients to the secure server. Port 80/tcp is required for Let's Encrypt verification.
Requirements
- Your server must have a publicly resolvable DNS record.
- Your server must be reachable over the internet on ports 80/tcp and 443/tcp and 51820/udp (WireGuard).
Usage
Example usage:
$ subspace --http-host subspace.example.com
Usage
  -backlink string
        backlink (optional)
  -datadir string
        data dir (default "/data")
  -debug
        debug mode
  -help
        display help and exit
  -http-addr string
        HTTP listen address (default ":80")
  -http-host string
        HTTP host
  -http-insecure
        enable sessions cookies for http (no https) not recommended
  -letsencrypt
        enable TLS using Let's Encrypt on port 443 (default true)
  -version
        display version and exit
Run as a Docker container
Install WireGuard on the host
The container expects WireGuard to be installed on the host. The official image is subspacecloud/subspace however my fork's official image is unafraid/subspace
add-apt-repository -y ppa:wireguard/wireguard
apt-get update
apt-get install -y wireguard

# Remove dnsmasq because it will run inside the container.
apt-get remove -y dnsmasq

# Set DNS server.
echo nameserver 1.1.1.1 >/etc/resolv.conf

# Load modules.
modprobe wireguard
modprobe iptable_nat
modprobe ip6table_nat

# Enable IP forwarding
sysctl -w net.ipv4.ip_forward=1
sysctl -w net.ipv6.conf.all.forwarding=1
Follow the official Docker install instructions: Get Docker CE for Ubuntu
Make sure to change the --env SUBSPACE_HTTP_HOST to your publicly accessible domain name.
# Your data directory should be bind-mounted as `/data` inside the container using the `--volume` flag.
$ mkdir /data

docker create \
    --name subspace \
    --restart always \
    --network host \
    --cap-add NET_ADMIN \
    --volume /usr/bin/wg:/usr/bin/wg \
    --volume /data:/data \
    --env SUBSPACE_HTTP_HOST=subspace.example.com \
    --env SUBSPACE_WIREGUARD_PORT=51820 \
    --env SUBSPACE_CLIENT_IPV4_SUBNET=10.99.97.0/24 \
    --env SUBSPACE_CLIENT_IPV4_GATEWAY=10.99.97.1 \
    --env SUBSPACE_CLIENT_IPV4_DNS=10.99.97.1 \
    --env SUBSPACE_CLIENT_IPV6_ENABLED=true \
    --env SUBSPACE_CLIENT_IPV6_SUBNET=fd00::10:97:0/112 \
    --env SUBSPACE_CLIENT_IPV6_GATEWAY=fd00::10:97:1 \
    --env SUBSPACE_CLIENT_IPV6_DNS=fd00::10:97:1 \
    unafraid/subspace:latest

$ sudo docker start subspace

$ sudo docker logs subspace

<log output>
Updating the container image
Pull the latest image, remove the container, and re-create the container as explained above.
# Pull the latest image
$ sudo docker pull unafraid/subspace

# Stop the container
$ sudo docker stop subspace

# Remove the container (data is stored on the mounted volume)
$ sudo docker rm subspace

# Re-create and start the container
$ sudo docker create ... #(see above)
Help / Reporting Bugs
Email [email protected]
Tag summary
Content type
Image
Digest
Size
108 MB
Last updated
almost 7 years ago
docker pull unafraid/subspace