xjodoin/subspace repository overview
Subspace - A simple WireGuard VPN server GUI



- Subspace - A simple WireGuard VPN server GUI
Slack
Join the slack community over at the gophers workspace. Our Channel is #subspace which can be used to ask general questions in regards to subspace where the community can assist where possible.
Screenshots
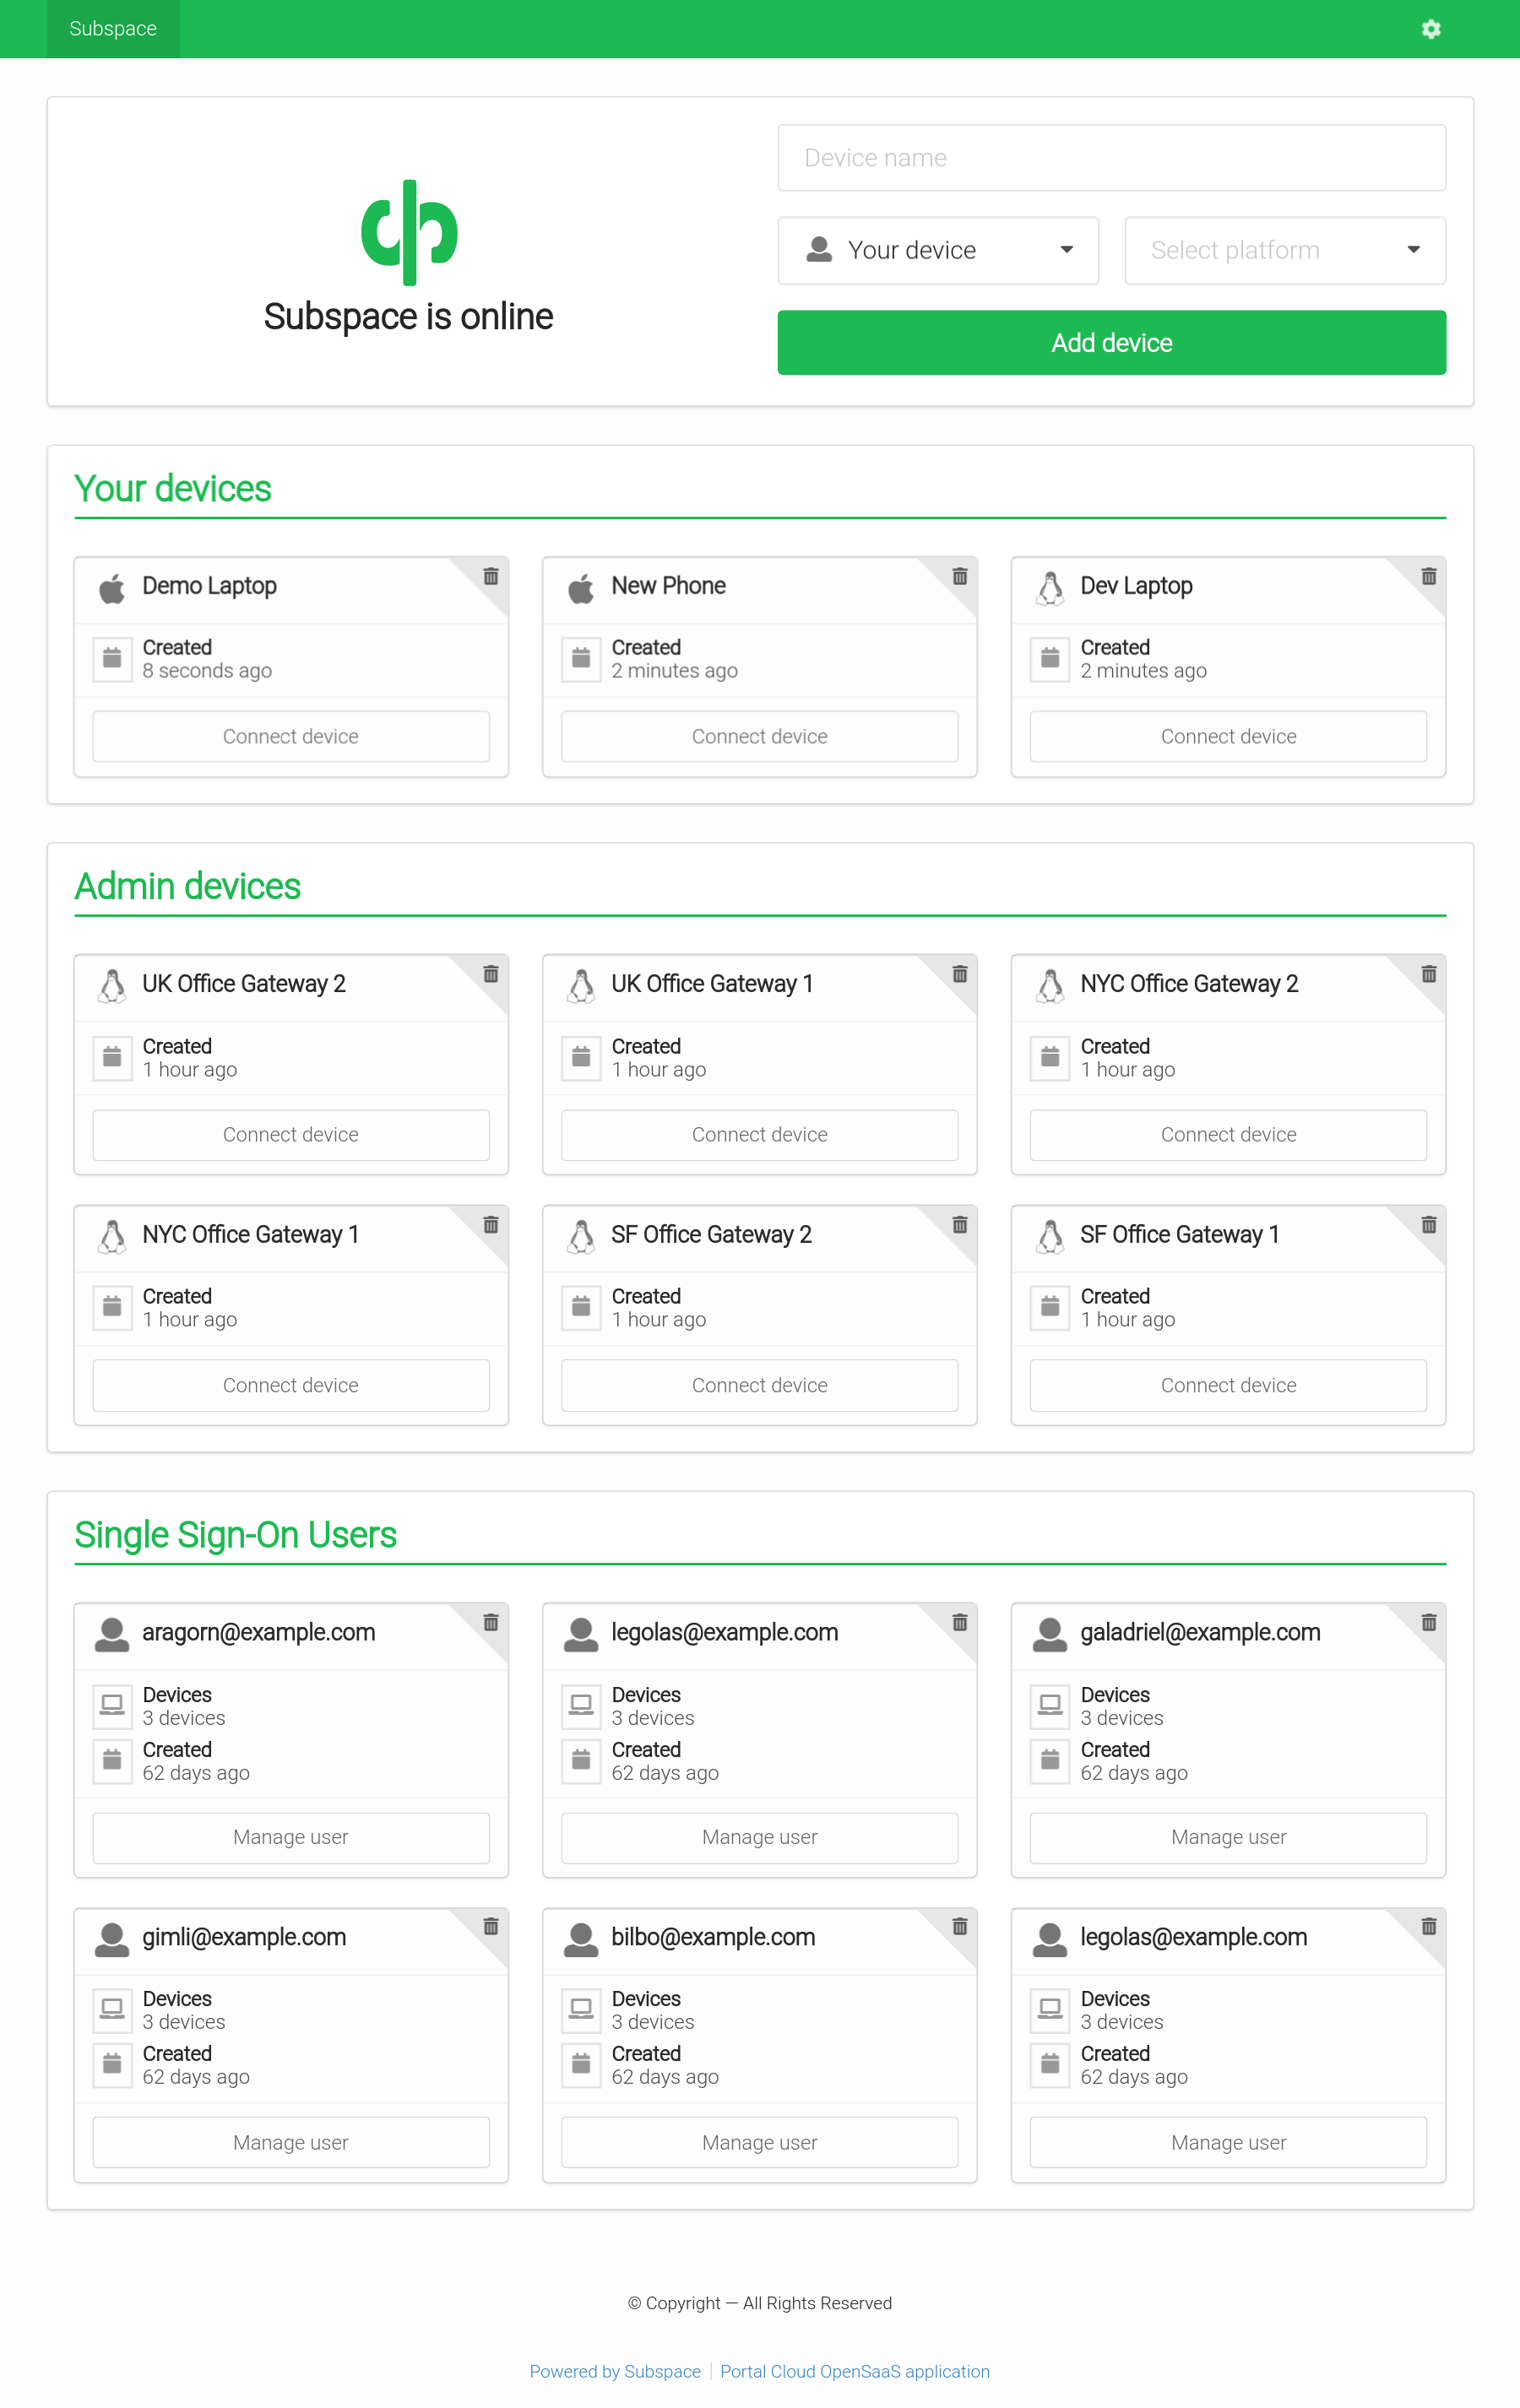 | 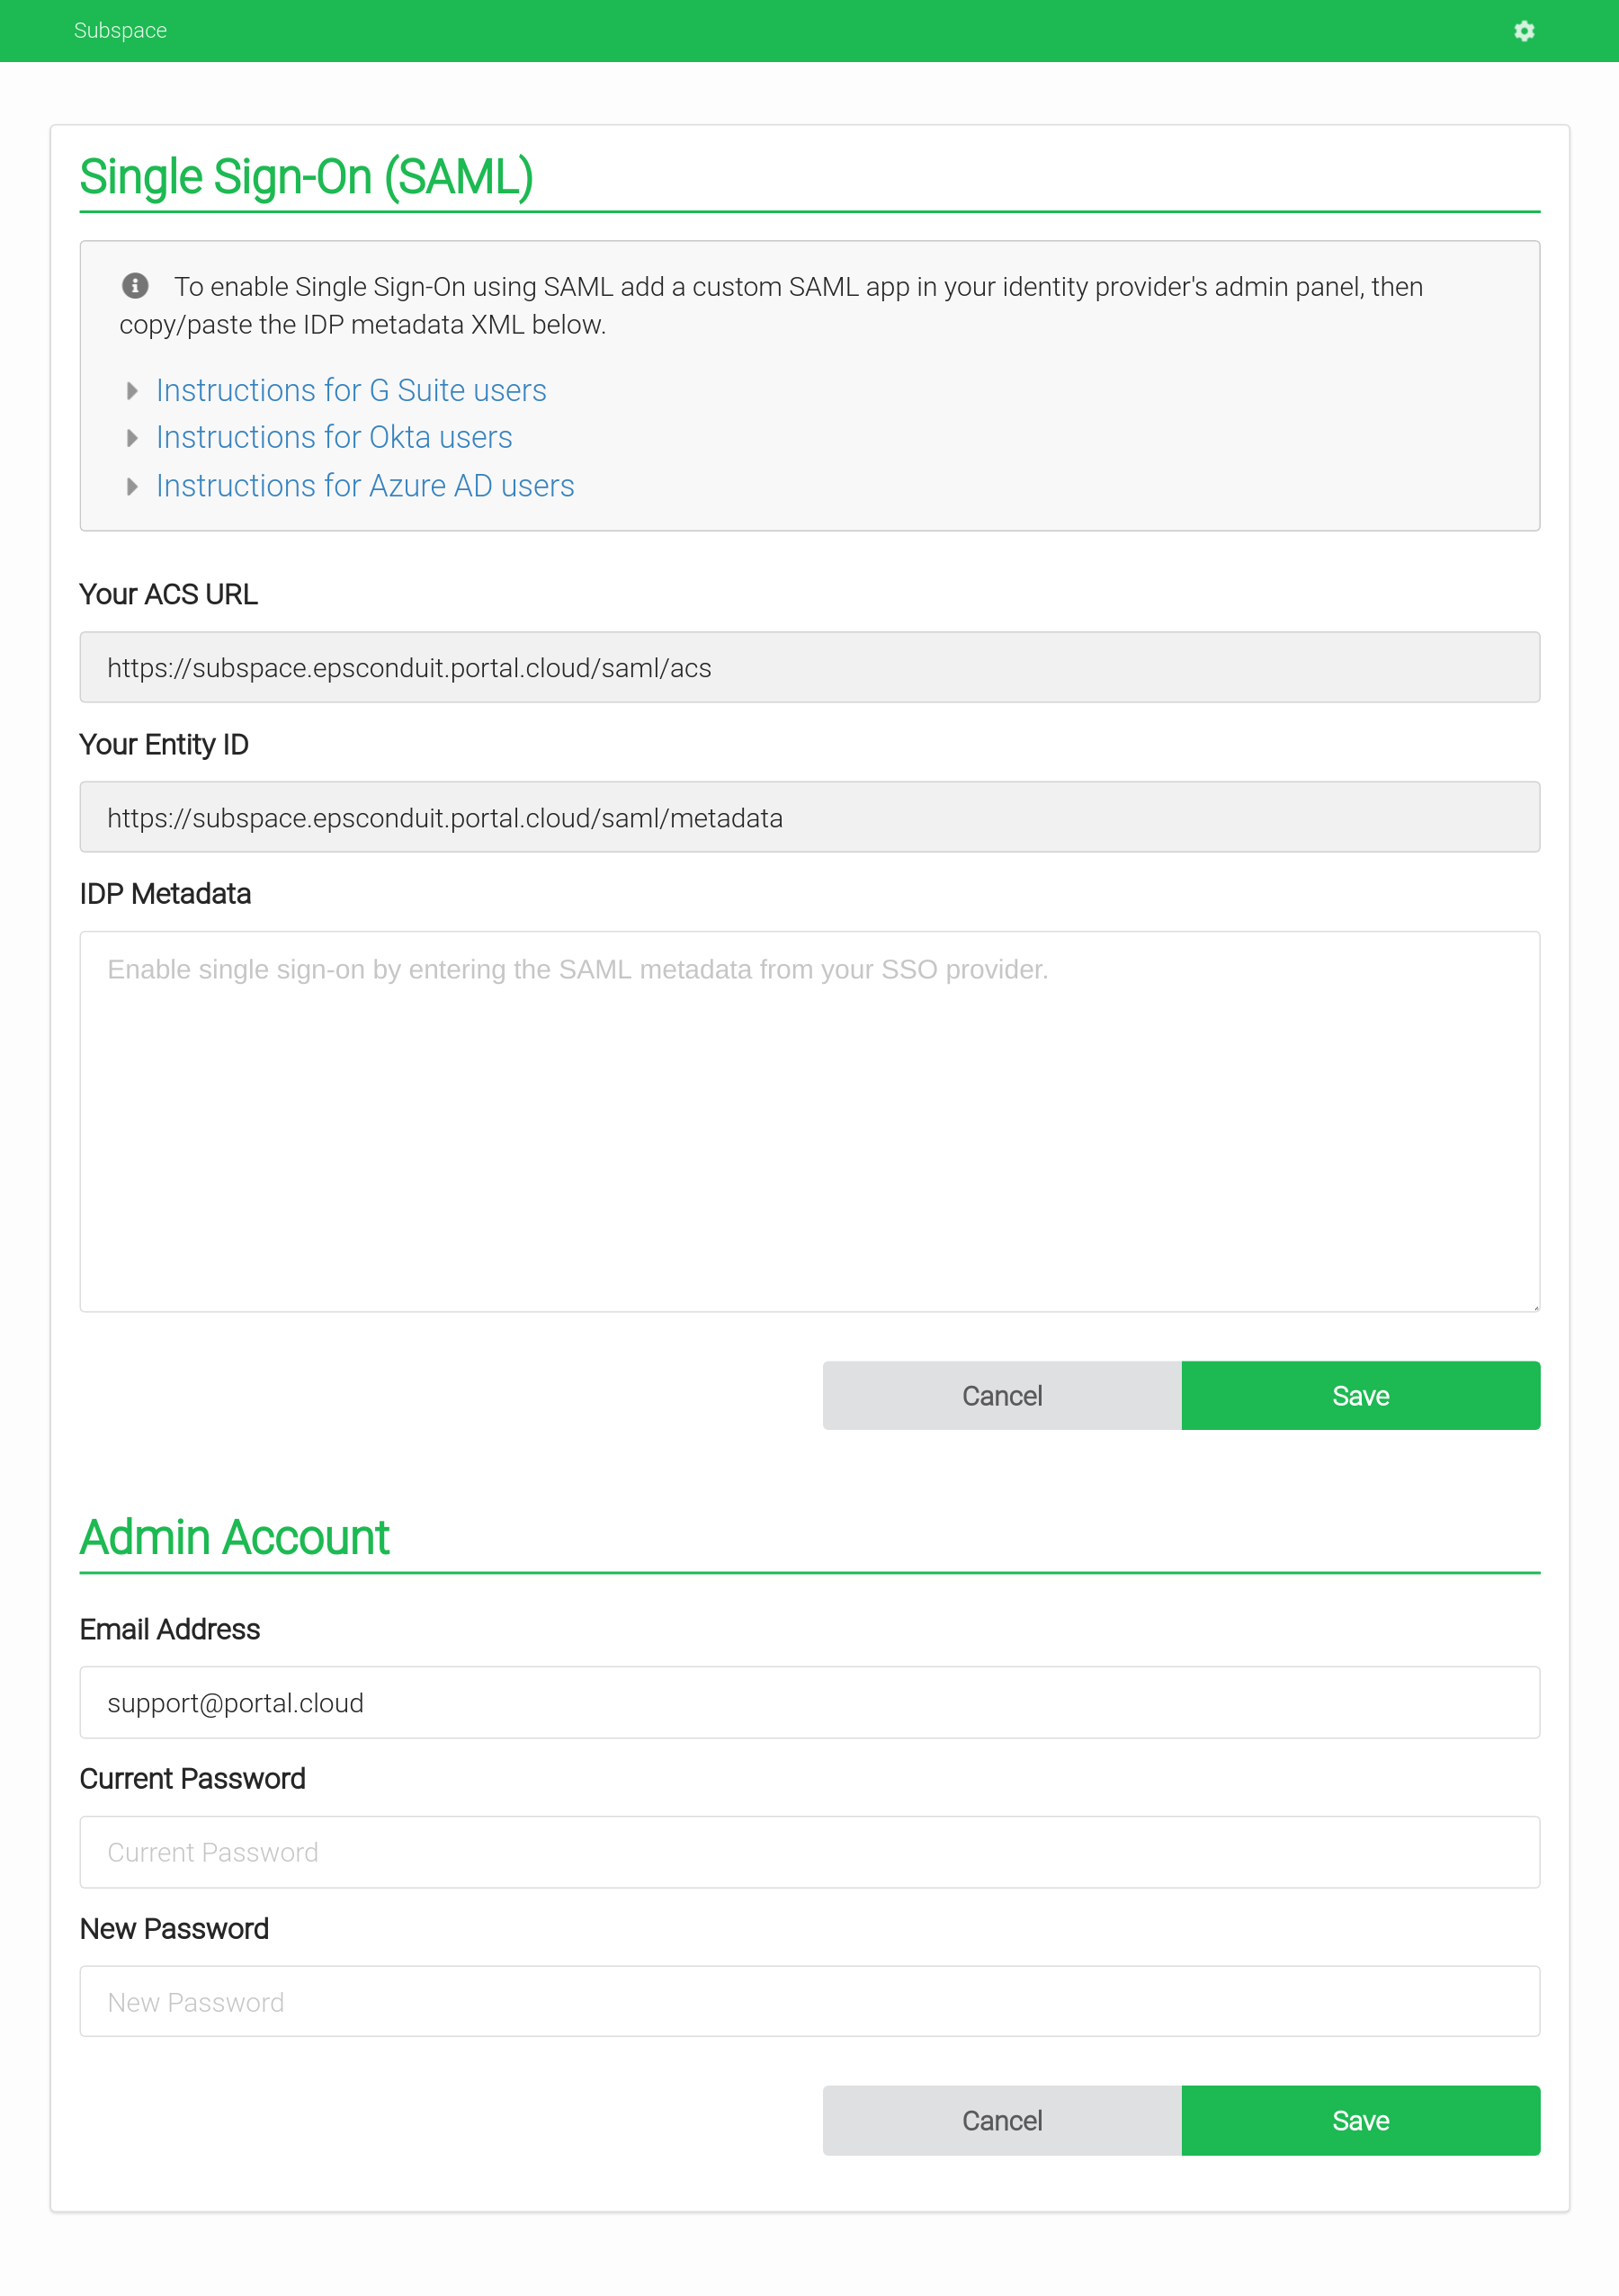 | |
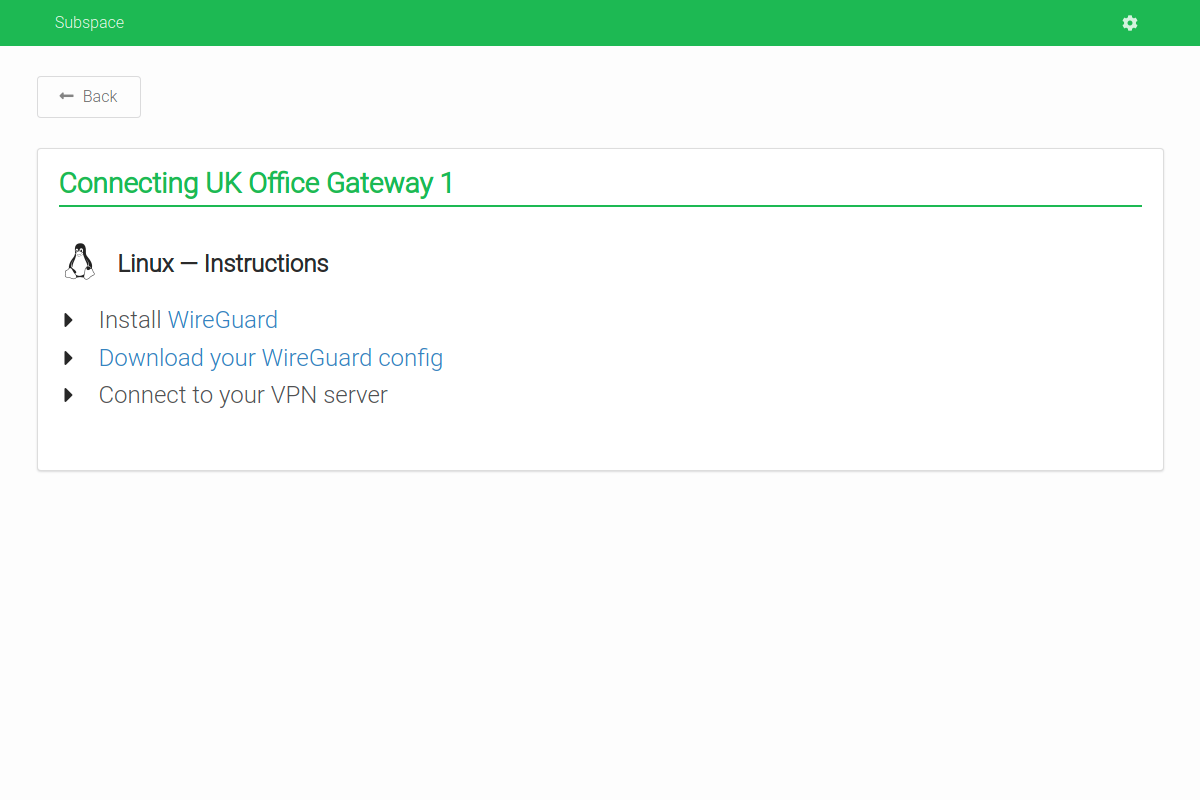 | 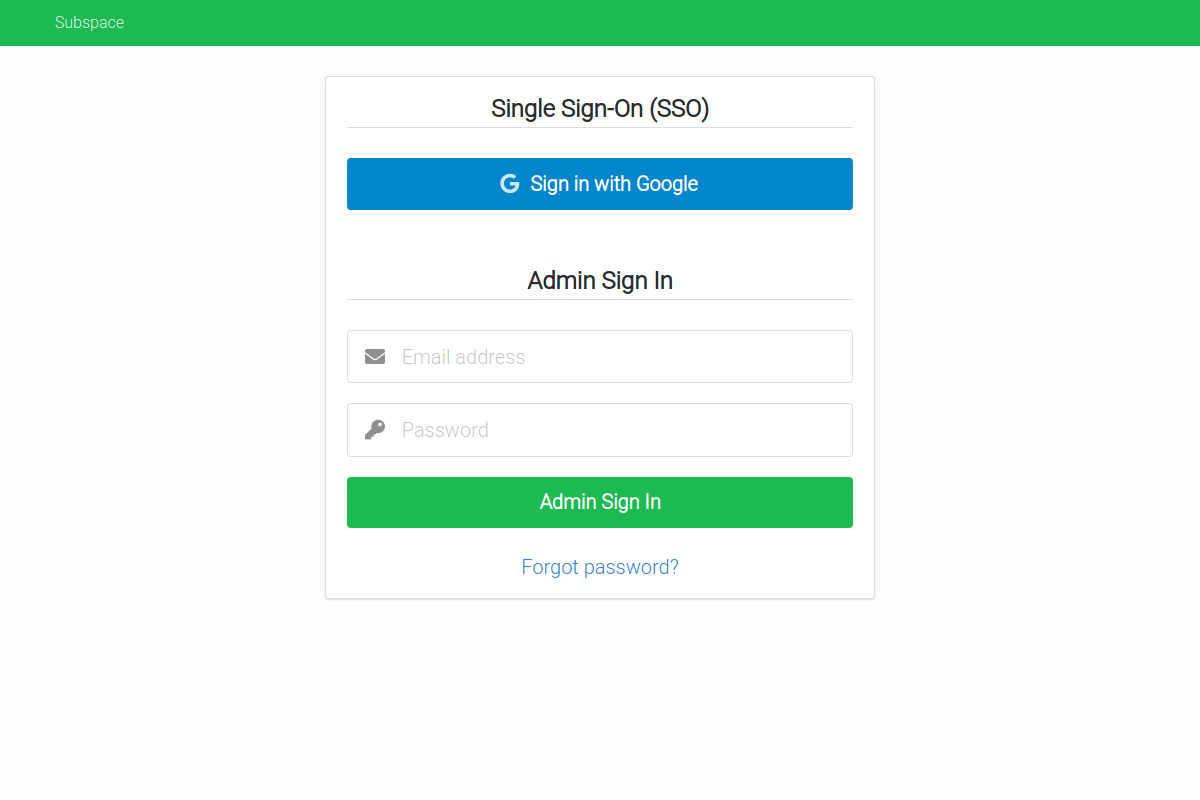 |
Features
- WireGuard VPN Protocol
- The most modern and fastest VPN protocol.
- Single Sign-On (SSO) with SAML
- Support for SAML providers like G Suite and Okta.
- Add Devices
- Connect from Mac OS X, Windows, Linux, Android, or iOS.
- Remove Devices
- Removes client key and disconnects client.
- Auto-generated Configs
- Each client gets a unique downloadable config file.
- Generates a QR code for easy importing on iOS and Android.
Contributing
See the CONTRIBUTING page for additional info.
Setup
1. Get a server
Recommended Specs
- Type: VPS or dedicated
- Distribution: Ubuntu 16.04 (Xenial), 18.04 (Bionic) or 20.04 (Focal)
- Memory: 512MB or greater
2. Add a DNS record
Create a DNS A record in your domain pointing to your server's IP address.
Example: subspace.example.com A 172.16.1.1
3. Enable Let's Encrypt
Subspace runs a TLS ("SSL") https server on port 443/tcp. It also runs a standard web server on port 80/tcp to redirect clients to the secure server. Port 80/tcp is required for LetsEncrypt verification.
Requirements
- Your server must have a publicly resolvable DNS record.
- Your server must be reachable over the internet on ports 80/tcp, 443/tcp and 51820/udp (Default WireGuard port, user changeable).
Usage
Example usage:
$ subspace --http-host subspace.example.com
Command Line Options
| flag | default | description |
|---|---|---|
http-host | REQUIRED: The host to listen on and set cookies for | |
backlink | / | OPTIONAL: The page to set the home button to |
datadir | /data | OPTIONAL: The directory to store data such as the WireGuard configuration files |
debug | OPTIONAL: Place subspace into debug mode for verbose log output | |
http-addr | :80 | OPTIONAL: HTTP listen address |
http-insecure | OPTIONAL: enable session cookies for http and remove redirect to https | |
letsencrypt | true | OPTIONAL: Whether or not to use a LetsEncrypt certificate |
theme | green | OPTIONAL: The theme to use, please refer to semantic-ui for accepted colors |
version | Display version of subspace and exit | |
help | Display help and exit |
Environment Variable Options
| variable | default | description |
|---|---|---|
SUBSPACE_IPV4_POOL | 10.99.97.0/24 | IPv4 Subnet to use as WireGuard subnet |
SUBSPACE_IPV6_POOL | fd00::10:97:0/112 | IPv6 Subnet to use as WireGuard subnet |
SUBSPACE_NAMESERVERS | 1.1.1.1,1.0.0.1 | Nameservers to use, by-default those of Cloudflare. |
SUBSPACE_LETSENCRYPT | 1 | Whether or not to use a LetsEncrypt certificate |
SUBSPACE_HTTP_ADDR | :80 | HTTP listen address |
SUBSPACE_HTTP_INSECURE | false | Enable session cookies for http and remove redirect to https |
SUBSPACE_LISTENPORT | 51820 | Port for WireGuard to listen on |
SUBSPACE_ENDPOINT_HOST | httpHost | The host to listen on for the webserver, if it differs from the VPN GW. |
SUBSPACE_ALLOWED_IPS | 0.0.0.0/0, ::/0 | Comma-separated list of IP's / subnets that are routed via WireGuard. By default everything is routed. |
SUBSPACE_IPV4_NAT_ENABLED | true | Whether to enable NAT routing for IPv4 |
SUBSPACE_IPV6_NAT_ENABLED | true | Whether to enable NAT routing for IPv6 |
SUBSPACE_THEME | green | The theme to use, please refer to semantic-ui for accepted colors |
SUBSPACE_BACKLINK | / | The page to set the home button to |
SUBSPACE_DISABLE_DNS | false | Whether to disable DNS so the client uses their own configured DNS server(s). Consider disabling DNS server, if supporting international VPN clients |
Run as a Docker container
Install WireGuard on the host
The container expects WireGuard to be installed on the host. The official image is subspacecommunity/subspace.
apt-get update
apt-get install -y wireguard

# Remove dnsmasq because it will run inside the container.
apt-get remove -y dnsmasq

# Disable systemd-resolved listener if it blocks port 53.
echo "DNSStubListener=no" >> /etc/systemd/resolved.conf
systemctl restart systemd-resolved

# Set Cloudfare DNS server.
echo nameserver 1.1.1.1 > /etc/resolv.conf
echo nameserver 1.0.0.1 >> /etc/resolv.conf

# Load modules.
modprobe wireguard
modprobe iptable_nat
modprobe ip6table_nat

# Enable modules when rebooting.
echo "wireguard" > /etc/modules-load.d/wireguard.conf
echo "iptable_nat" > /etc/modules-load.d/iptable_nat.conf
echo "ip6table_nat" > /etc/modules-load.d/ip6table_nat.conf

# Check if systemd-modules-load service is active.
systemctl status systemd-modules-load.service

# Enable IP forwarding.
sysctl -w net.ipv4.ip_forward=1
sysctl -w net.ipv6.conf.all.forwarding=1
Follow the official Docker install instructions: Get Docker CE for Ubuntu
Make sure to change the --env SUBSPACE_HTTP_HOST to your publicly accessible domain name.
If you want to run the vpn on a different domain as the http host you can set --env SUBSPACE_ENDPOINT_HOST
Use --env SUBSPACE_DISABLE_DNS=1 to make subspace generate WireGuard configs without the DNS option, preserving the user's DNS servers.
# Your data directory should be bind-mounted as `/data` inside the container using the `--volume` flag.
$ mkdir /data

docker create \
    --name subspace \
    --restart always \
    --network host \
    --cap-add NET_ADMIN \
    --volume /data:/data \
    # Optional directory for mounting dnsmasq configurations
    --volume /etc/dnsmasq.d:/etc/dnsmasq.d \
    --env SUBSPACE_HTTP_HOST="subspace.example.com" \
    # Optional variable to change upstream DNS provider
    --env SUBSPACE_NAMESERVERS="1.1.1.1,8.8.8.8" \
    # Optional variable to change WireGuard Listenport
    --env SUBSPACE_LISTENPORT="51820" \
  # Optional variables to change IPv4/v6 prefixes
    --env SUBSPACE_IPV4_POOL="10.99.97.0/24" \
    --env SUBSPACE_IPV6_POOL="fd00::10:97:0/64" \
    # Optional variables to change IPv4/v6 Gateway
    --env SUBSPACE_IPV4_GW="10.99.97.1" \
    --env SUBSPACE_IPV6_GW="fd00::10:97:1" \
    # Optional variable to enable or disable IPv6 NAT
    --env SUBSPACE_IPV6_NAT_ENABLED=1 \
  # Optional variable to disable DNS server. Enabled by default.
  # consider disabling DNS server, if supporting international VPN clients
    --env SUBSPACE_DISABLE_DNS=0 \
    subspacecommunity/subspace:latest

$ sudo docker start subspace

$ sudo docker logs subspace

<log output>
Docker-Compose Example
version: "3.3"
services:
  subspace:
   image: subspacecommunity/subspace:latest
   container_name: subspace
   volumes:
    - /opt/docker/subspace:/data
    - /opt/docker/dnsmasq:/etc/dnsmasq.d
   restart: always
   environment:
    - SUBSPACE_HTTP_HOST=subspace.example.org
    - SUBSPACE_LETSENCRYPT=true
    - SUBSPACE_HTTP_INSECURE=false
    - SUBSPACE_HTTP_ADDR=":80"
    - SUBSPACE_NAMESERVERS=1.1.1.1,8.8.8.8
    - SUBSPACE_LISTENPORT=51820
    - SUBSPACE_IPV4_POOL=10.99.97.0/24
    - SUBSPACE_IPV6_POOL=fd00::10:97:0/64
    - SUBSPACE_IPV4_GW=10.99.97.1
    - SUBSPACE_IPV6_GW=fd00::10:97:1
    - SUBSPACE_IPV6_NAT_ENABLED=1
    - SUBSPACE_DISABLE_DNS=0
   cap_add:
    - NET_ADMIN
   network_mode: "host"
Updating the container image
Pull the latest image, remove the container, and re-create the container as explained above.
# Pull the latest image
$ sudo docker pull subspacecommunity/subspace

# Stop the container
$ sudo docker stop subspace

# Remove the container (data is stored on the mounted volume)
$ sudo docker rm subspace

# Re-create and start the container
$ sudo docker create ... (see above)
Contributors ✨
Thanks goes to these wonderful people (emoji key):


This project follows the all-contributors specification. Contributions of any kind welcome!
Tag summary
Content type
Image
Digest
Size
17 MB
Last updated
over 5 years ago
docker pull xjodoin/subspace